
How to Make a Travel Photo Book
Key Takeaways
- Define a clear story and audience, then curate your best images for variety, quality, and emotion;
- Map your book’s flow: chronological, geographic, or thematic, and use balanced layouts with white space;
- Add context with concise captions, maps, and timelines, then proof for resolution, color, and bleed issues before printing;
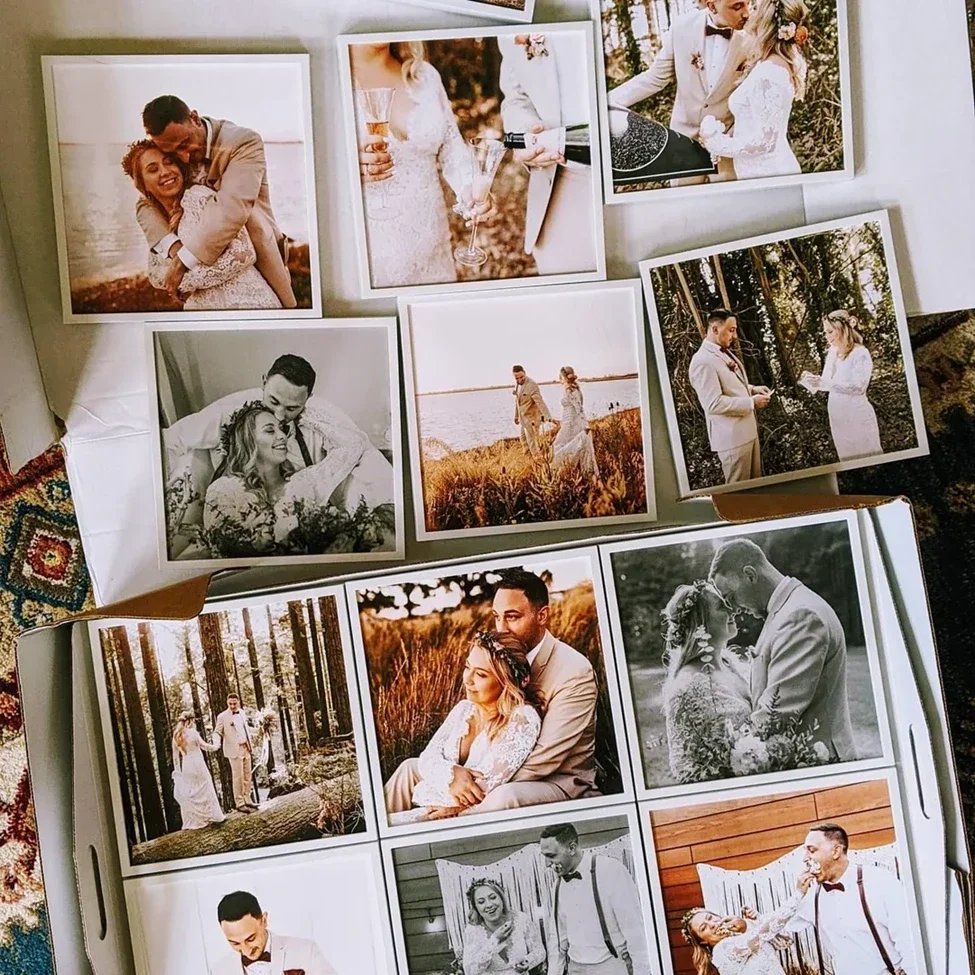
- Complement your book with a wall gallery: turn your standout shots into adhesive, repositionable Mixtiles in minutes.
Turning your favorite trip into a travel photo book does not have to be overwhelming. With a simple plan built around story, selection, design, and printing, you can transform camera roll chaos into a polished keepsake you will revisit for years. In this guide, you will learn how to make a travel photo book step by step, from choosing themes and layouts to prepping files. You will also see how to share hero images at home by pairing your book with easy, peel and stick Mixtiles.
Ready to tell your story? Create your custom travel photo book today. Or, bring your travel highlights to life on your walls with our stunning canvas prints.
What story should your travel photo book tell?
Your story should fit your photos and your audience. Choose either a single trip with a clear beginning and end or a theme that ties images together. Then tailor the tone and text to the people who will flip through your book.
Trip wide or theme led, what fits your photos best?
If you want a classic travel photo album, focus on one trip and title it clearly, for example “Japan 2024.” This approach helps you tell the story from departure to return and it feels like a compact coffee table photo book. If your images span years, consider a theme such as cityscapes, markets, or road trips. A theme led approach is great for custom travel photo books that mix locations while keeping a consistent look and feel.
Who is your audience and how will they flip through it?
For family and close friends, include personal moments and behind the scenes images. For guests or clients, keep the design minimal, the information concise, and the visuals strong. You can add a short dedication or a signed note on the inside to make the hardcover photo book feel personal without heavy text on pages.
How do you sort and select the best photos fast?
Start by gathering all your travel photos in one place. Create a simple folder structure, then cull quickly using objective criteria: impact, variety, and quality. Finish with light edits that unify color and contrast.
Build a simple folder structure that saves time
Use Year, Destination, Day or Location. For example: 2024, Italy, Day 02 Rome. This naming helps you design without hunting through your phone, app, or multiple albums. Export high resolution images for best printing results.
What is your culling criteria?
Keep
Choose sharp, high resolution images that reproduce well on the page. Mix wide shots, details, and portraits, and include images with emotion so the sequence feels alive. Aim for variety in color and time of day so the book flows naturally around different moments of the trip.
Skip
Remove near duplicates, accidental frames, and heavy motion blur unless it is an intentional effect. If a photo will not edit cleanly, replace it. A tighter selection creates a stronger travel photo book that you will actually read.
Which quick edits make a big difference?
Straighten horizons, crop thoughtfully, and adjust exposure and white balance. Apply a light, consistent preset across images so color feels cohesive. Less is more. You can always get more dramatic with wall prints and Mixtiles later.
Which formats, sizes, and papers work best for travel books?
Choose a size and finish that suits how you will use the book. Mixtiles Photo Books feature a sleek matte hardcover and silky pages that are easy to browse and beautiful to display. If you like bold panoramas, pick a larger size so images can shine.
Should you go layflat or perfect bound?
Layflat is ideal for spanning a single image across two pages and is popular for panoramic landscapes. Perfect bound is more budget friendly, lighter to hold, and great for casual books. Mixtiles Photo Books are beautifully bound hardcovers with one photo per page, so you get a clean, gallery style look without complex layouts.
What cover should you choose?
A matte hardcover photo book looks refined on any coffee table and protects your travel memories for years. On Mixtiles, you can choose a special cover photo and customize the title text on the cover and spine. The back cover remains photo free for a minimalist look.
How do paper finishes change the look?
Matte pages reduce glare, feel premium, and keep color rich. Glossy can add punch, but it introduces reflections under strong light. Mixtiles uses a velvety, silk feel paper with minimal glare that makes colors pop while staying easy on the eyes.
Available Mixtiles Photo Book Sizes
Use this quick size chart to choose the right format for your space and your images. Larger sizes suit big vistas and a coffee table setting. Smaller sizes are perfect for gifts and casual browsing at home.
|
Imperial |
Metric |
|---|---|
|
8" × 8" |
21 cm × 21 cm |
|
10" × 10" |
25 cm × 25 cm |
|
12" × 12" |
32 cm × 32 cm |
How should you structure the flow of your book?
Pick one organizing principle and stick to it. Chronological, geographic, or thematic sequencing keeps readers oriented and helps you design faster. Balance hero images with quieter details for rhythm.
Chronological, geographic, or thematic: what reads best?
Chronological sequencing is intuitive and reads like a story with a beginning, middle, and end. Geographic chapters work well when you visited multiple cities or regions. A thematic approach groups by food, architecture, people, or landscapes, which is great for multi year collections and career photographers who want a polished portfolio style book.
What is the ideal page count and pacing?
Most travel photo books feel complete at 40 to 80 pages. Alternate big, cinematic images with close up details. On Mixtiles, each page displays one photo, so you can create a satisfying rhythm by pairing a wide scene with the next page’s intimate moment.
Anchor spreads and breathing room
Open sections with a hero image to set the scene. Give images room to breathe, avoid busy backgrounds, and keep margins consistent. Think like a gallery wall: clean, even spacing improves the look and feel of your pages.
Which layouts make your travel photos shine?
For Mixtiles Photo Books, the layout is simple and elegant: one full size photo per page. This puts pressure on selection and sequence, which is a good thing. Your best images get the spotlight and the book feels premium.
When to go full bleed
Choose full bleed for dramatic landscapes, skylines at blue hour, or images where edges do not carry important information. Keep key subjects away from the trim area to avoid unintended crops at printing.
How to create compelling sequences
Use visual echoes to connect pages: repeat a color, revisit a subject, or contrast day and night versions of the same place. A market overview followed by a close up of spices helps people experience the trip, not just see the locations.
Why margins and white space matter
Consistent margins make the book feel calm and intentional. White space functions like silence between songs. It gives the eye a rest and elevates each image. This is the secret to a coffee table book that feels beautifully designed even with a simple page layout.
How do you write captions and add context without clutter?
Keep text short and purposeful. On Mixtiles, page captions are not supported yet. Use the cover and spine title, and if you want notes inside, photograph your journal entries, tickets, maps, or postcards and add them as images to selected pages.
Captions that capture, not crowd
If your platform supports captions, keep them to one or two lines with place, date, and a detail you will want to remember. For Mixtiles Photo Books, add information by including a photo of a hand written note at the start of a chapter or a simple image of your route map as a page opener.
Maps, timelines, and mini stories
Photograph a clean map with your route highlighted. Include a timeline graphic as an image. Mini stories can be typed, printed, and photographed for a cohesive look. These solutions work well and keep the design consistent with one photo per page.
Typography basics that keep it readable
Limit your fonts to one or two if you design graphics to include as images. Use clear hierarchy for titles and captions. High contrast color combinations print better and remain easy to read under indoor light.
Not ready for a full travel photo book? Test your favorite shots on your wall first. Print a set of our easy-to-use photo tiles. Just peel, stick, and reposition anytime.
What should you check before you hit print?
Proof once for image quality and once for text. Confirm resolution, safe zones, color, and sequence. Expect small shifts from screen to print and adjust accordingly.
Resolution, bleeds, and safe zones
Aim for 300 DPI at print size. Keep faces and key details inside the safe area and extend full bleed images slightly past trim. This prevents white edges and protects important content.
Color management 101
Reduce overly saturated edits, especially neon blues and reds that can print harsh. View your pages under warm indoor light to judge contrast. A quick soft proof, if available, helps you avoid surprises.
Final proofing checklist
- Visuals: Check for dust spots, banding, and unintended crops on full bleed pages;
- Text: Verify place names, dates, and consistent capitalization; proof your cover title and spine;
- Structure: Confirm page order, chapter openers, and that your first and last images feel like a beginning and an end.
How can you extend your travel book into a home gallery?
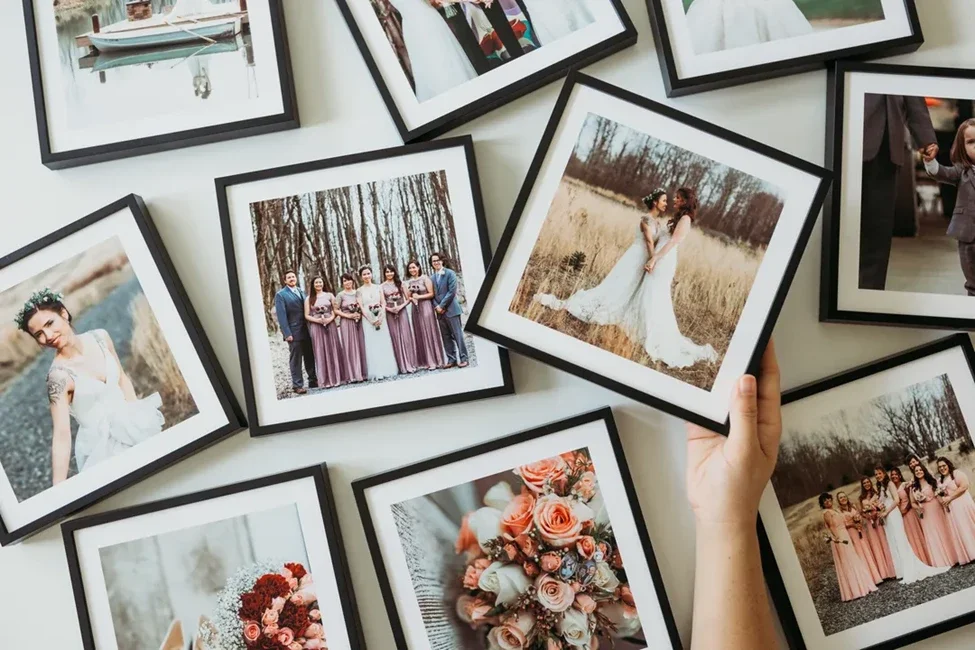
Turn the best images into wall art so you can see your travel memories every day. Mixtiles make it easy to create a wall gallery without tools, and you can swap or add tiles as you create new books. If you prefer stretched canvases for a few hero shots, use our canvas size chart to choose dimensions that fit your room and layout.
Pair your book with a Mixtiles wall set

Pick your top 6 to 12 images and arrange them as a beautiful gallery above a console or sofa. The adhesive backing will not damage most walls, and the tiles can be repositioned if you want to try a new layout later.
Curate series for impact

Create themed sets around landscapes, portraits, or food. Keep tones cohesive so the series reads as one idea. This is a simple way to bring your travel photos off the page and into your living space.
Layout ideas for different rooms

In an entryway, showcase a single striking landscape flanked by two details. In a living room, a 3 by 3 grid of cityscapes looks modern and balanced. In a hallway, a linear timeline of the trip works like an open gallery that you will enjoy every time you walk by.
How do you keep the project easy and fun?
Time box the work and keep it simple. A weekend workflow is usually enough to create a travel photo book that looks and feels professional without getting stuck in perfectionism.
A weekend workflow you will actually finish
- Day 1: Gather images, build your folder structure, cull hard, and do quick edits;
- Day 2: Arrange pages in the Mixtiles app, fine tune order, and set your cover and title text;
- Day 3: Proof for resolution, color, and trim safety, then place your order.
Involve your travel companions
Crowdsource picks with a simple voting system on a shared album. Ask one person to write a short dedication or a signed note you can photograph and include as the first page. This makes the book feel like a gift even if it is for you.
Make it a tradition
Create yearly volumes or a trip photo book for every major vacation. Save a reusable sequence pattern so the next book is even faster. You can share highlights on Instagram, then bring those images into your Mixtiles book or onto your walls.
If you live in the United States, shipping is fast, and promotions apply automatically to eligible gallery wall sets on site. You can contact support via email or Live Chat if you need help. Orders are placed in the app or website, not by phone or DMs.
Now you know how to make a travel photo book that reads like a story and looks like a keepsake. Choose a clear theme, curate with intention, design with balance, and proof like a pro. Mixtiles Photo Books are beautifully bound with a matte hardcover and silky pages, and the creation process is simple from start to finish. When a few images deserve extra attention, turn them into Mixtiles so you can see your travel memories daily and refresh your gallery any time.
Bring your travel memories to life. Start designing your perfect memory photo book today, and turn your best shots into a beautiful photo gallery wall. Order now on the Mixtiles app or website.
Frequently Asked Questions
How do I create a travel photo book, step by step?
Define your story (trip or theme). Gather photos, then cull for impact and variety. Apply quick, consistent edits. Choose size and finish. In the Mixtiles app, upload 24–200 images, arrange chronologically or by theme, set your cover and spine title, proof resolution and trims, then order.
Which platform is best for making a travel photo book?
Use a platform that’s simple, mobile friendly, and prints premium hardcovers. Mixtiles Photo Books let you go from phone to finished book fast: clean one-photo-per-page design, matte cover, silky pages, and quick checkout. You focus on story and sequencing; the editor handles layout.
What makes a great travel photo book?
A clear theme, tight curation, and balanced pacing. Mix panoramas with intimate details, keep color consistent, and leave white space for breathing room. Open with a hero image and close with a satisfying end. Add context via photographed notes or maps, not heavy captions.
Is making a photo book yourself cheaper than using a service?
Usually not. Buying albums, paper, adhesive, and high-quality prints adds up, and home printers rarely match pro color and durability. A service like Mixtiles offers predictable pricing, premium binding, and frequent promos—saving time, avoiding reprints, and delivering a polished, long-lasting keepsake.

Be first to know — deals, news & decor ideas.
By clicking you agree to the Terms of Use & Privacy Policy